Rolling Cart Labels for Visually Stunning Teacher Organization
Share this Post
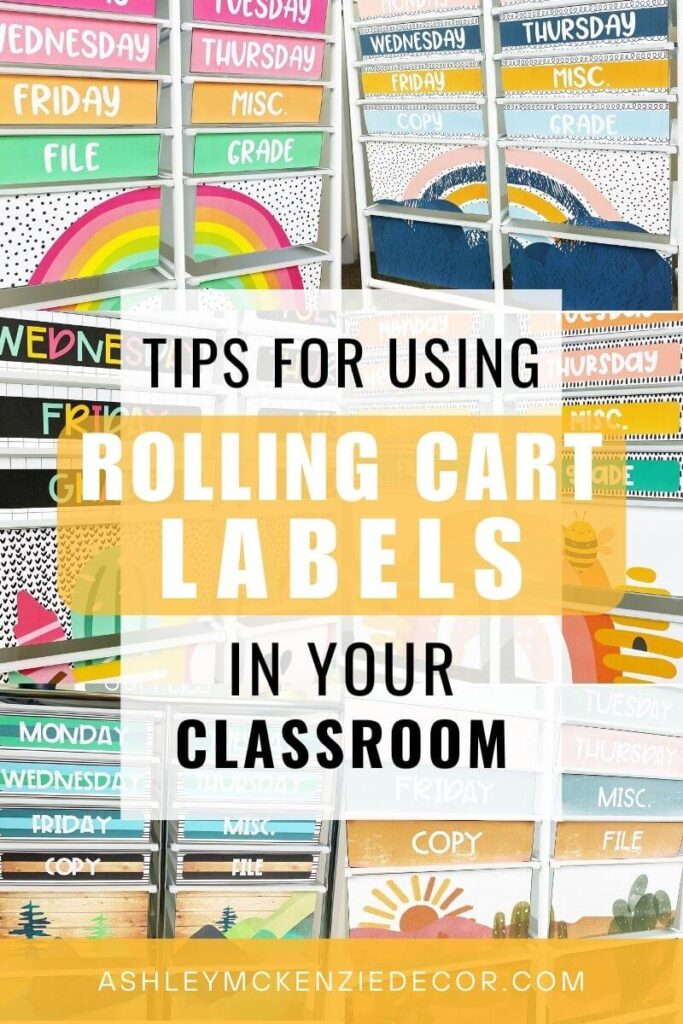
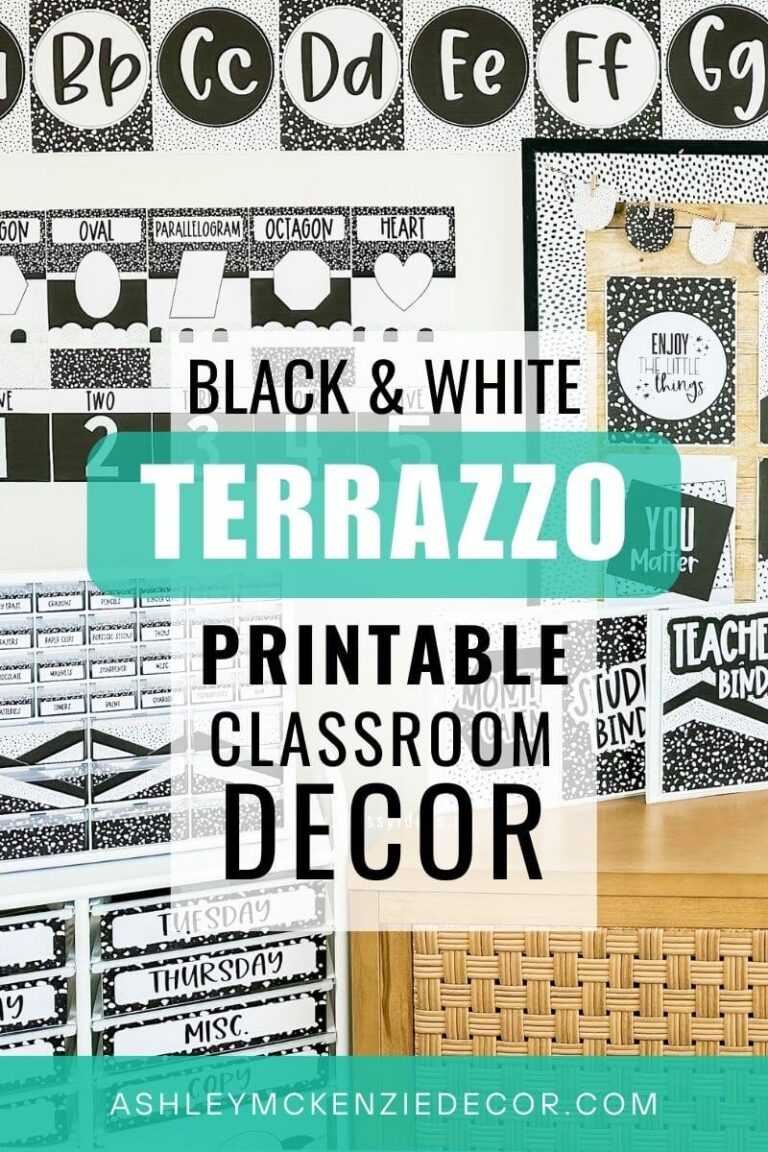
If you love getting organized much as I do, or you want a better way to organize your classroom, then these Rolling Cart Labels are for you! While both fun and functional, these labels transform your cart into a decorative piece you’ll be happy to look at and use!
Disclaimer: This page contains affiliate links, meaning, at no additional cost to you, I will earn a small commission if you click through and make a purchase.
To create this amazing teacher organization tool in your classroom, start by selecting a great rolling cart. I got my 12-drawer cart from Amazon, and I love it! Designing labels to fit the two different drawer sizes was a blast, and the sizes are super functional too! There’s also a 10-drawer cart option that works great too. I bought a different rolling cart online last year and the drawers were an absolute pain to open. These ones are infinitely better! Feel free to learn from my trial-and-error, and get the right cart the first time!
Next, put your cart together! I ended up spray painting the metal frame and it was completely worth it, in my opinion. I used this spray paint from Walmart, but you can probably get it anywhere. One can was enough, but I got two and did an extra coat just for good measure!
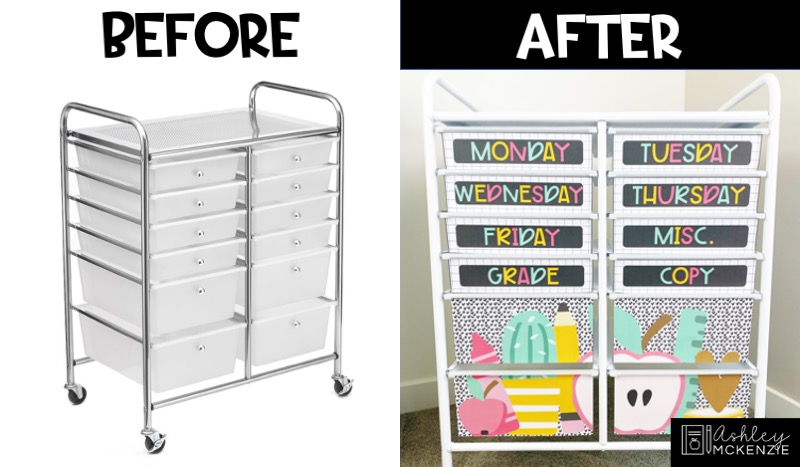
This cart also comes with metal knobs, which I opted not to use. The drawers are easy enough to open as-is, and the knobs detract from the decorative labels! Besides, who’s going to be upset with one less assembly step?! Not me!
However, if you do choose to use the knobs, I recommend installing them after you’ve attached the labels to the drawers. Just cut a small slit or hole in the label with a box cutter or scissors where the knob will go, and then install the knob. But again, I like how the drawers and labels look better without the knobs, and I didn’t lose any functionality without them!
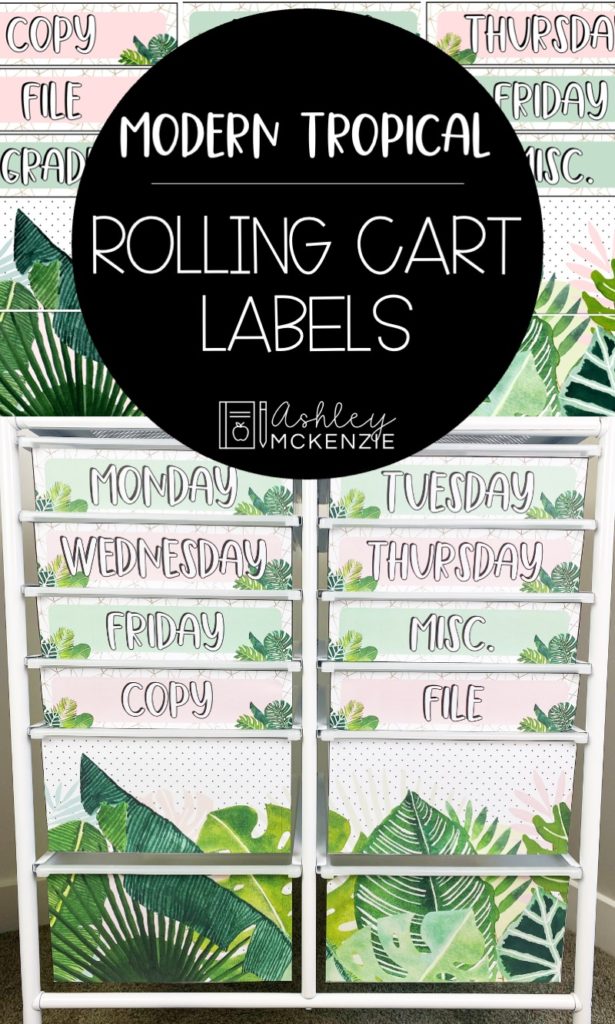
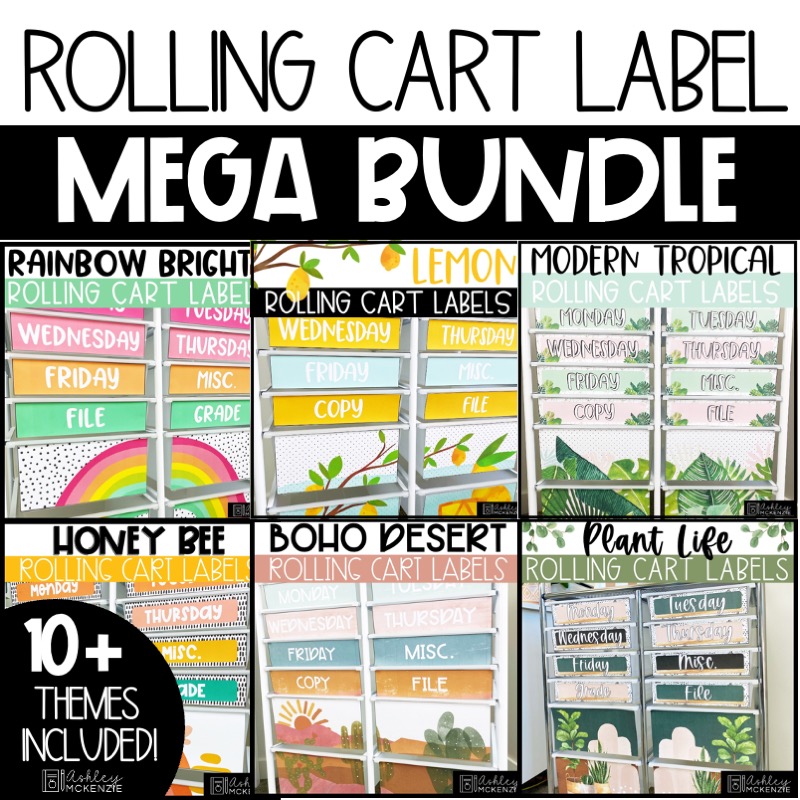
The third step is to decide which theme you’re going to decorate your cart with! (This might be the most difficult step of all…) The good news: I’ve bundled tons of my Rolling Cart Labels together into a MEGA Bundle so that you can switch out the labels as often as you like! Or you can purchase any of the themes individually from my TpT shop, if you already have a favorite!
After selecting your theme, just print the labels, trim as needed, and attach them to the drawers. I use this double sided tape to attach the labels, and it works great! Trust me, this tape holds so well and it makes this step super simple!
And if you’re looking for a fresh, unique classroom decor theme, check out my Plant Life Classroom Decor. This is the theme in which the Rolling Cart Labels made their debut! I’m so happy with how these labels turned out, and I can’t wait to see them in your classrooms! Share your amazing rolling carts with me on Instagram @ashleymckenzietpt!




These are so cute! I’m now wayyy down the rabbit hole of your Teacher Pay Teachers store; you have so many awesome things! Thanks for sharing!
Thank you so much Michaila! That is so kind of you to say. 🙂
Will you be making the rolling cart images for the Vintage Floral theme?
Hey there! I have created it! You can find them here. https://www.teacherspayteachers.com/Product/Vintage-Floral-Classroom-Decor-Rolling-Cart-Labels-Editable-7132337