Light Box Insert Tutorial
Share this Post

A light box is so fun to display in your classroom with different messages and themes throughout the year. They do have one flaw though…the boring black and white letters are limiting! That’s why I started creating my own inserts with transparency pages and began sharing them in my Teachers Pay Teachers (TPT) store.
Here is a step by step light box insert tutorial on how to print the light box inserts that are available in my TPT store.
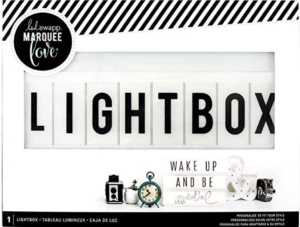
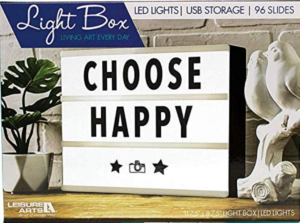
Step 1. Get A Light Box
Step 2. Find or Create Your Own Inserts
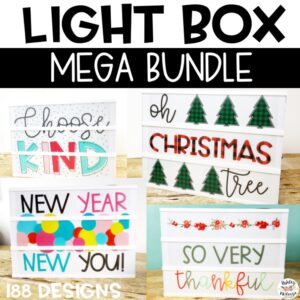
If you want to create your own, go for it! If not, I’ve done the work for you and created themed inserts for every month of the year, and more! You can check them all out by clicking on the image below.
Step 3. Find The Right Transparency Paper
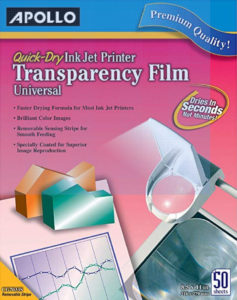
Make sure you have the right kind of transparency paper for your printer. There are two types of printers: ink jet and laser jet. Amazon has the best deal for transparency paper, if you don’t already have some shoved in the bottom drawer from years ago!
As a side note, you can print the inserts on regular paper or card stock. You won’t get the same effect, but it is a cheaper way to do it.
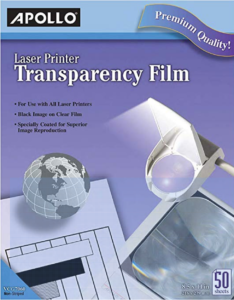
If you have a laser jet printer, make sure you have this kind of transparency paper/film or the equivalent.
Click the image to see it on Amazon.
If you have an ink jet printer, make sure you have this or the equivalent.
Step 4. Placing Film In Printer
Once you have the right transparency film, you’ll need to test your printer to see which way it pulls your paper through and which side it prints on. This can be done by making a mark on a normal piece of paper, laying it in the paper feed tray, and printing a test image to see if the ink ends up on the side with the pen mark or the other side. Take note of whether you placed the paper in the tray with the mark facing up or down.
Once you determine how your printer feeds the paper, you’ll want to make sure you put the film in so that the “rough” side is the one that gets printed on, not the smooth!
The rough texture allows the ink to stick to the paper. The white strip also needs to be towards the back of the paper tray because that gives the printer something to “grab” when it starts feeding.
Step 5. Print Settings
If you own any of my light box inserts, I’ve formatted them to fit either the Leisure Arts Light Box or the Heidi Swapp Light Box. You should open the light box inserts in Adobe PDF reader.
Click “File” >”Print”
Then this dialog box should appear.

Choose which pages you’d like to print.
Finally, make sure you select the option to print it in “Actual Size” not “fit.” If you fail to do this, your inserts may print out too small to fit in the slots correctly.
Step 6. Cut & Insert
This is the most exciting part! Just cut along the lines of your inserts and put them in your light box. Sometimes you have to cut a little extra here and there depending on how strait you cut. Definitely not telling you that from experience over here! 🙂
Enjoy your light box and I hope you found this tutorial useful! 🙂
Did you know you can gain acess to my library of free resources by subscribing below?


