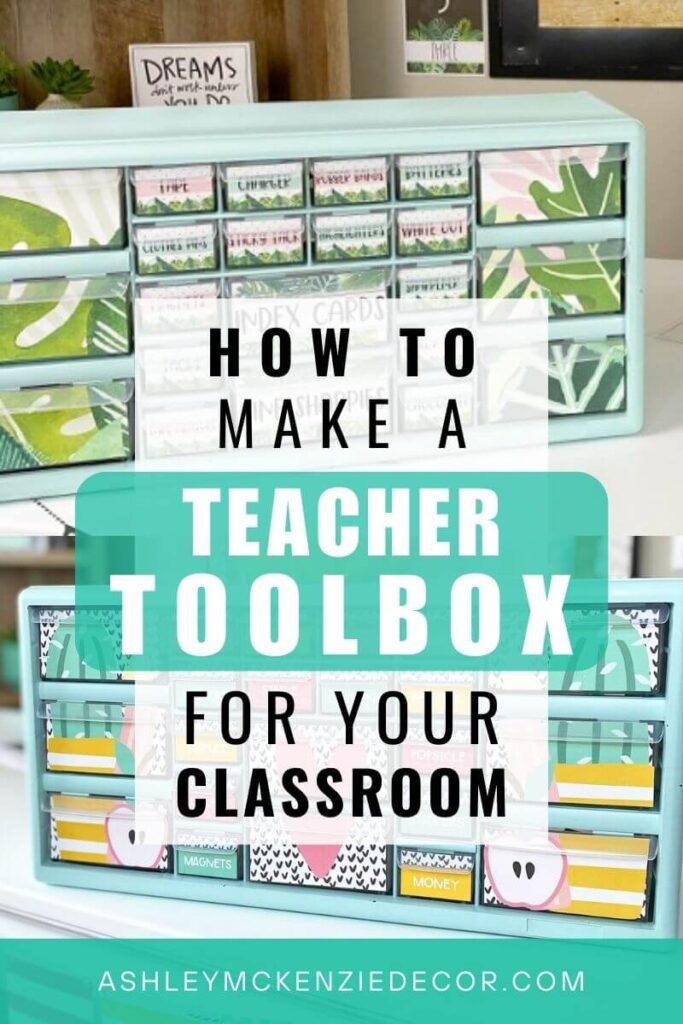
How To Make A Teacher Toolbox
Share this Post
If you’re looking for the perfect way to organize your teacher desk, or if you’re a really nice person and you want to make a teacher toolbox for another teacher… here’s a simple step-by-step tutorial on how to do it! It’s the perfect summer break project!
Disclaimer: This page contains affiliate links, meaning, at no additional cost to you, I will earn a small commission if you click through and make a purchase.
STEP 1
Get your teacher toolbox! If you don’t already have a teacher toolbox (i.e. plastic drawer organizer) like the one pictured below, you can head to your local Lowe’s store and see if they carry the teacher toolbox pictured below (they don’t sell it online anymore) or head to Amazon and grab a slightly different version that will work just the same! Note that the one from Lowe’s is the one that I have, pictured here. But I also have this larger toolbox from Amazon as well, and it works great too!

STEP 2
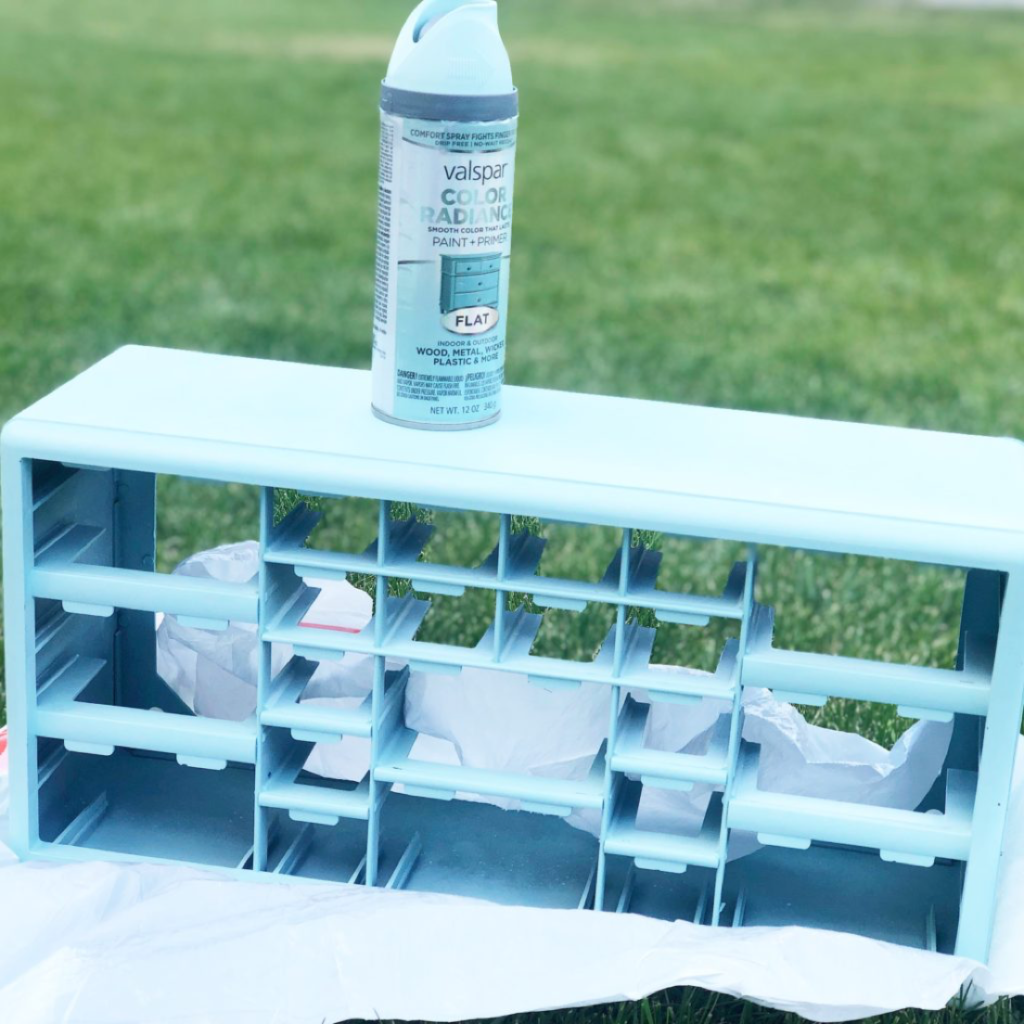
You’ve probably noticed that it doesn’t come in any fun colors. So, you’ll want to choose a spray paint color that you love and that matches the labels you’ll be using. Remember to take all the drawers out before spray painting your toolbox!
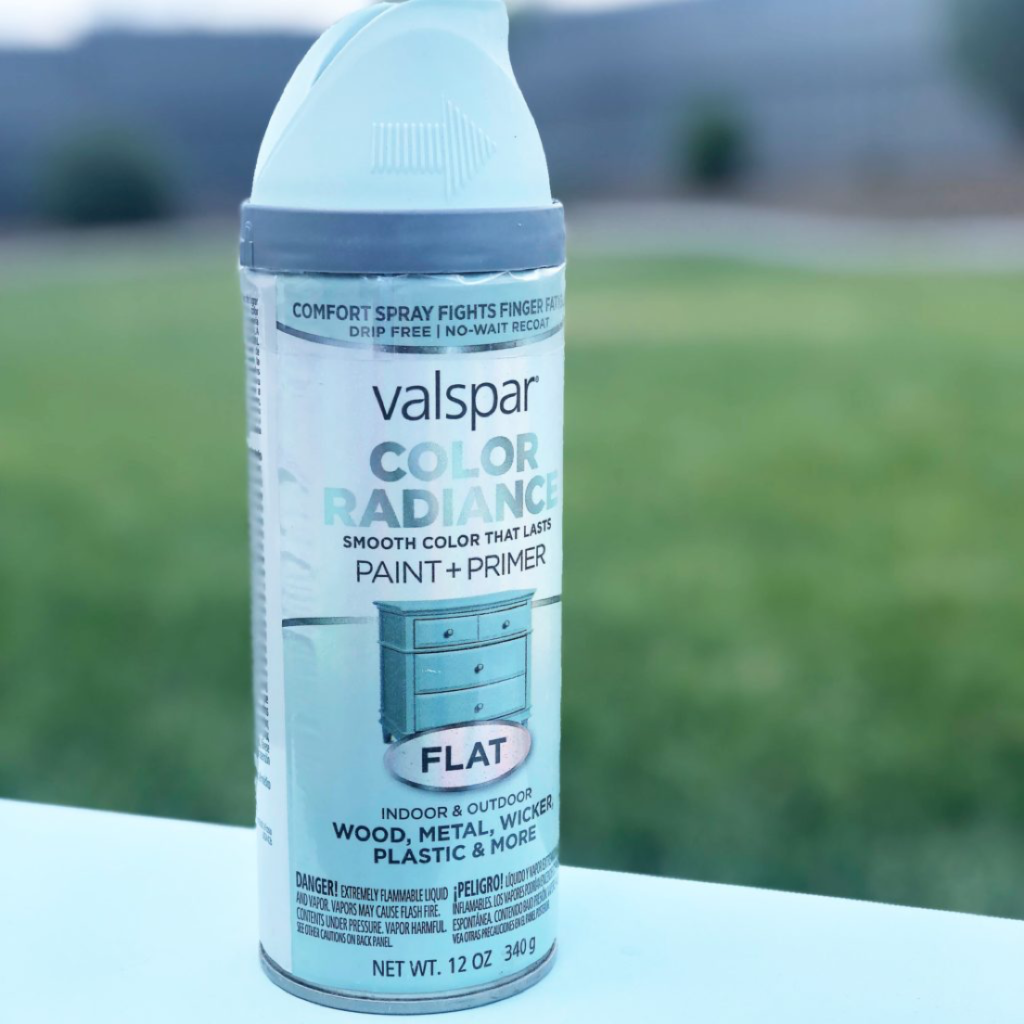
I used this Valspar spray paint in a flat finish because I didn’t want my toolbox to turn out shiny. This Rust-oleum matte spray paint (also found at Lowe’s or Home Depot) works great too! Then I laid it on a garbage bag so my grass didn’t turn blue and so that I didn’t have little outlines of grass on my toolbox once I spray painted it. Once that was ready, I gave it two good coats to make sure all angles were covered. I also did the back in case I want to place it somewhere with the back showing!
STEP 3
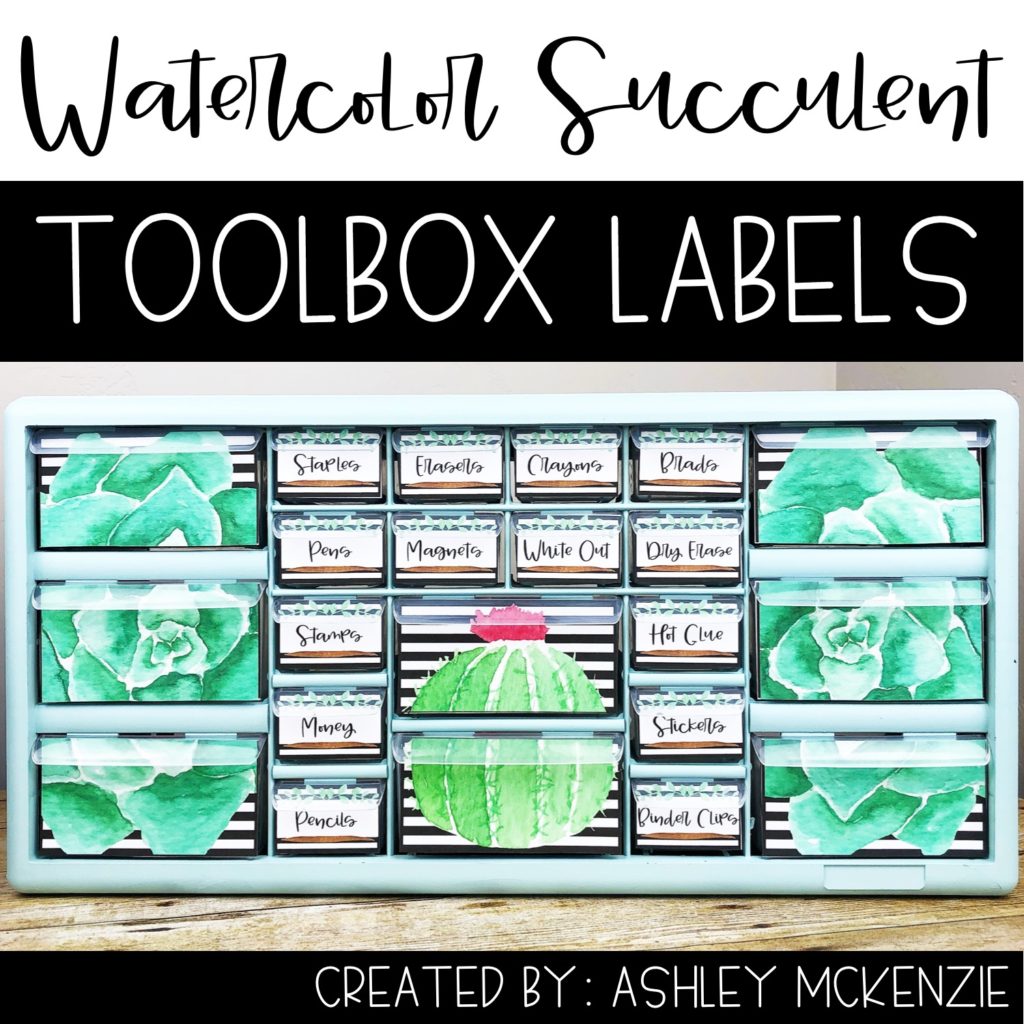
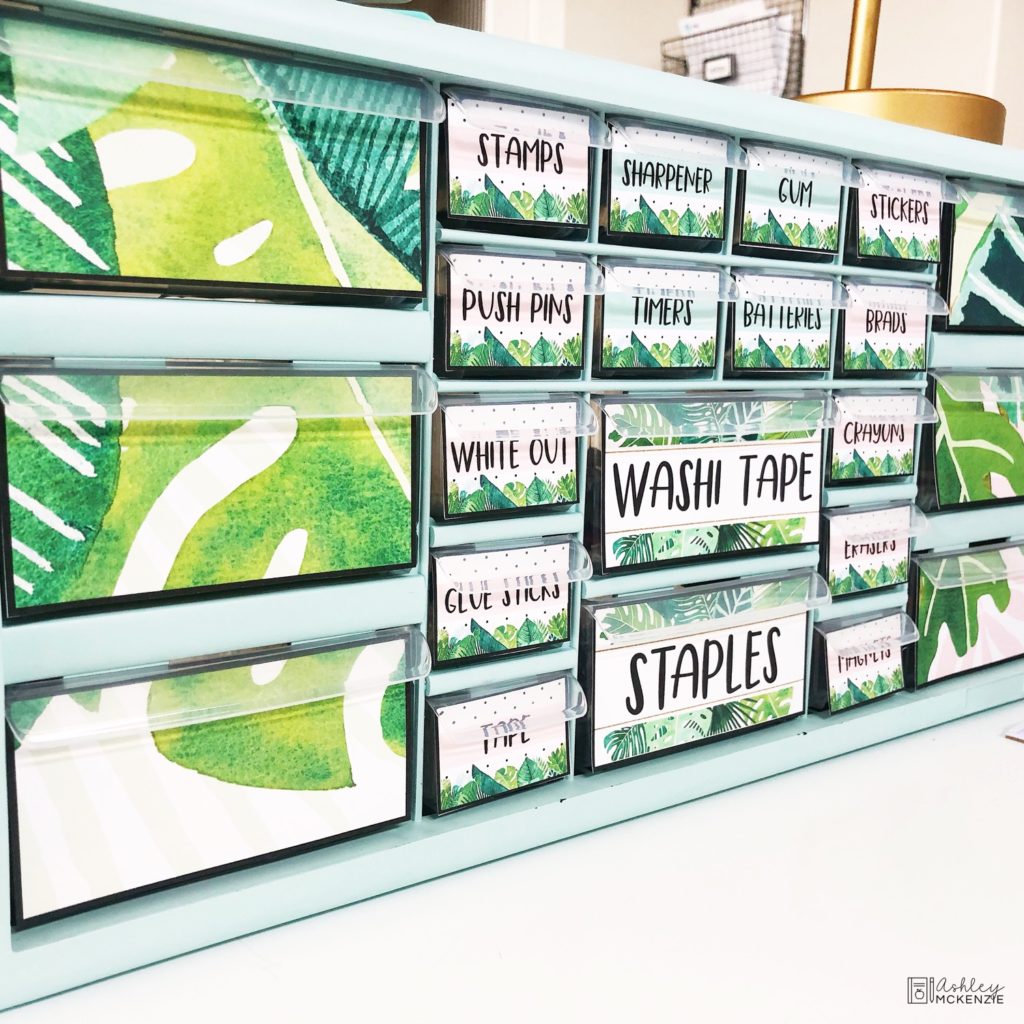
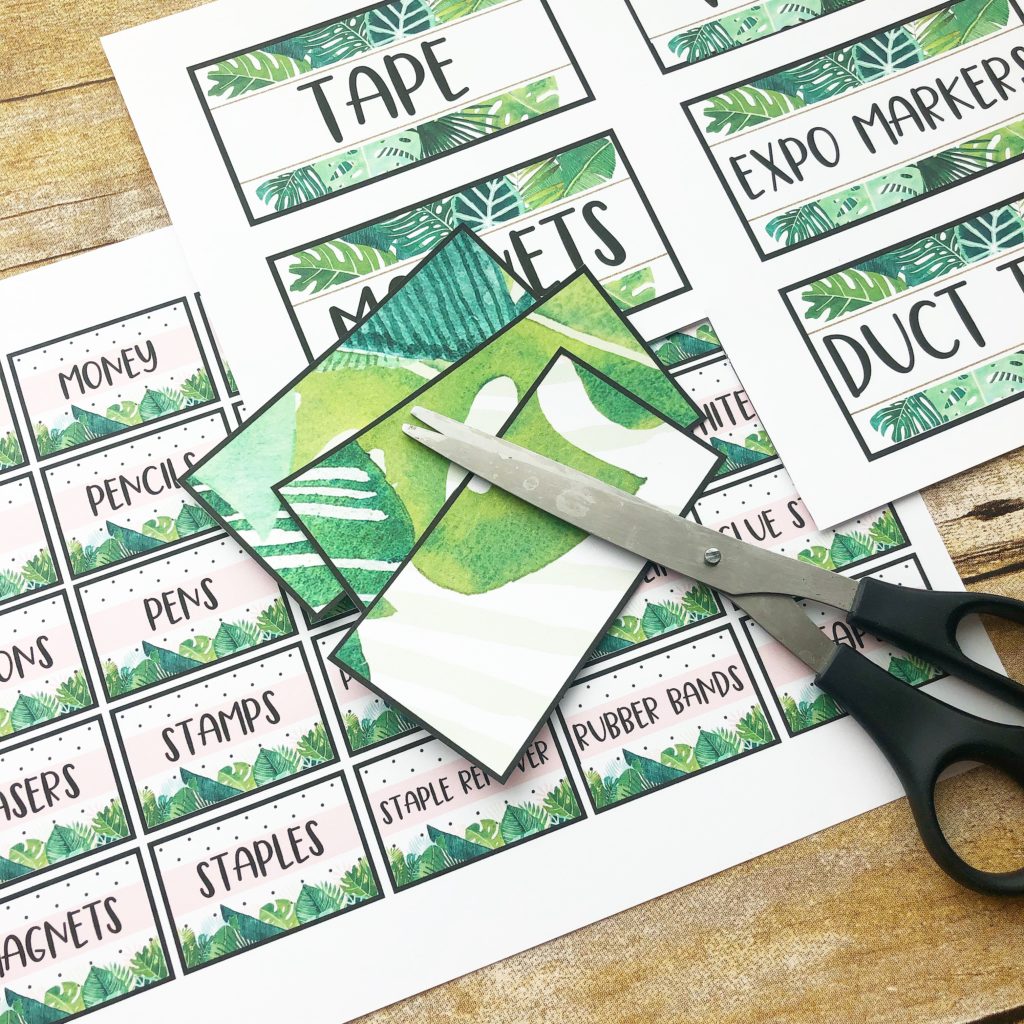
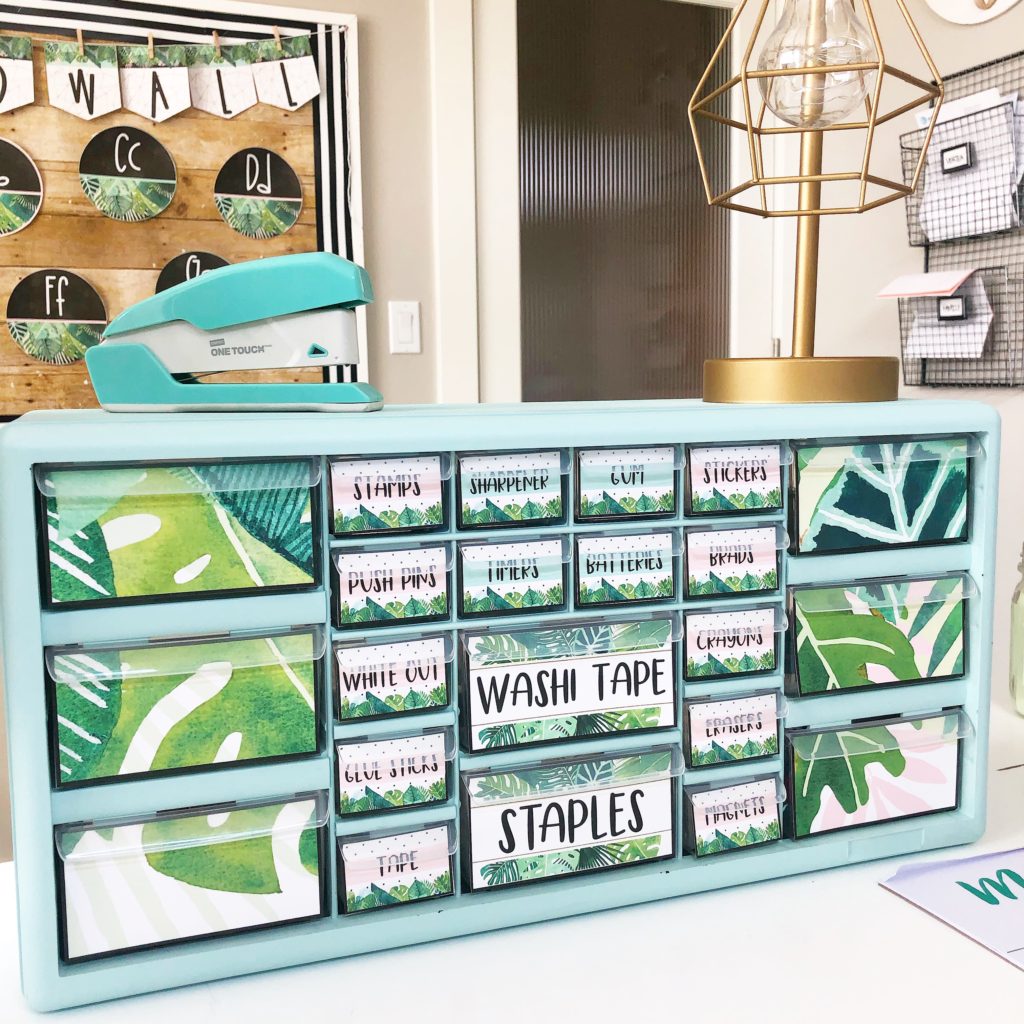
While your teacher toolbox is drying, create your labels! I have tons of different designs listed in my Teachers Pay Teachers store that you can use, or you can create your own if you have time and specific clip art you like. Below are a few examples. As you can see, this blue color I used on my toolbox is SO versatile allowing you to change your labels from year-to-year without having to paint it all over again!
The labels I created are editable, so you can make them say whatever you’d like. If you want to make your own, be sure to measure the size of your drawers and create labels in PowerPoint or another similar software to fit your toolbox dimensions. I recommend using card stock when printing your labels as they will last longer and have a more crisp finish!
STEP 4
Now for the final touches – the BEST part! Cut out your labels and place them on the drawers you’d like them to be on.
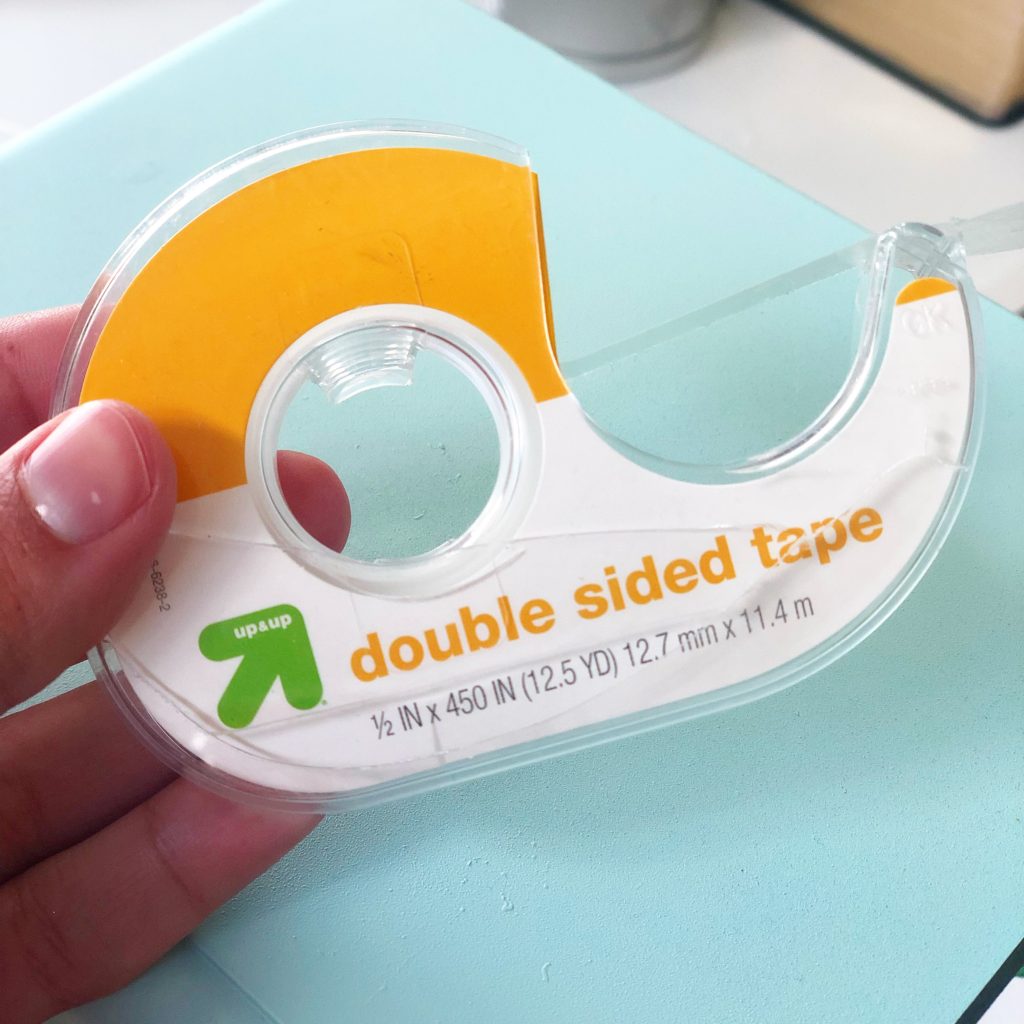
You can place the labels inside the front of the drawers or on the outside (which is what I’ve done on mine). I love how they look on the outside! The best way to attach the labels is by using double-sided sticky tape. I promise it’s worth going out and buying some if you don’t already have it! I’ve had the same labels on my toolbox for a year and they haven’t moved at all!
You can label every drawer with words or use cool graphics on the larger drawers like I did on mine. It serves two useful purposes – I like the look of it and I also don’t want curious little children knowing where I stash my candy in those drawers! 🙂 Once you’re finished labeling, you can load your drawers with all your supplies and enjoy your beautiful teacher toolbox!
I’d absolutely LOVE to see how your teacher toolbox turns out! Send me a photo of your finished product on Instagram – @ashleymckenziedecor. Seriously, very few things bring me greater joy than seeing all of your creations! I hope your teacher toolbox turns out just the way you want it to!


