7 Easy Classroom Calendar Printing Tips
Share this Post
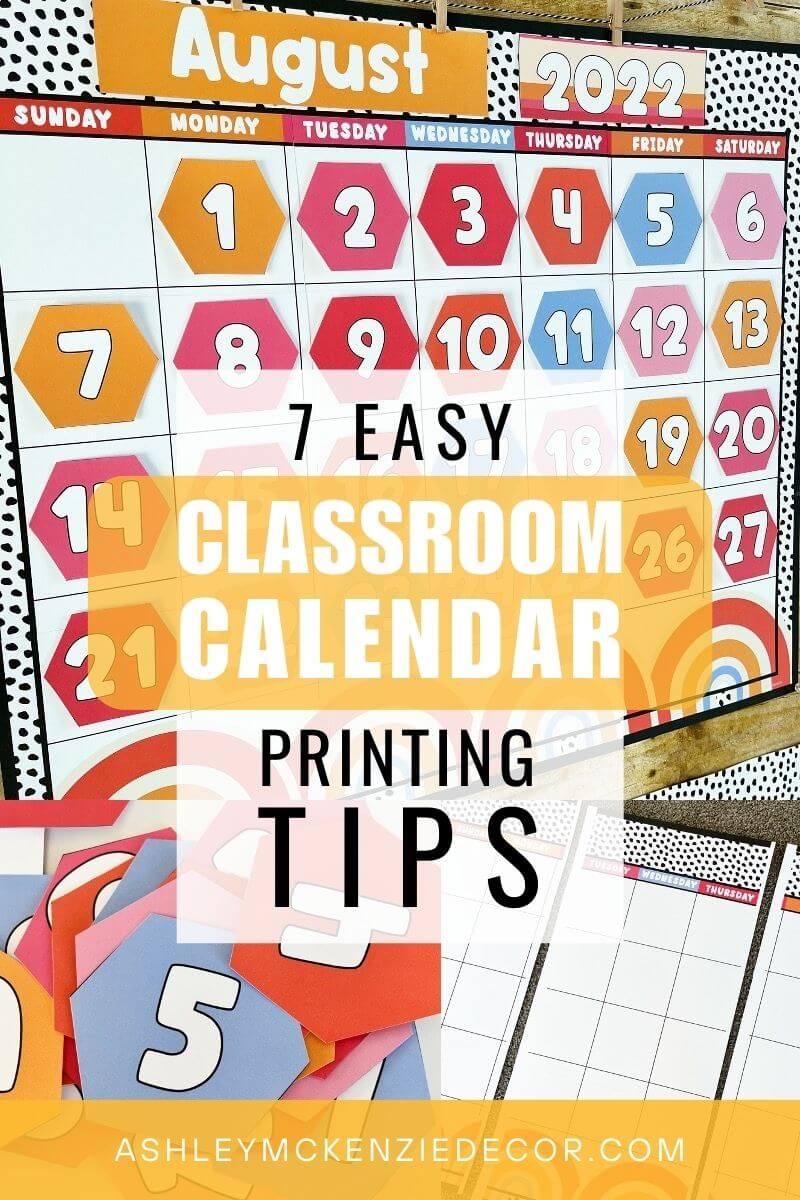
Is your calendar one of the central displays in your classroom? So many teachers use a calendar that’s large enough to be seen from almost anywhere in the room! However, the problem with these large displays is that they can often be difficult to print correctly. I’ve been making full classroom decor sets for years, including oversized calendars. And I’ve got the secret sauce recipe to share with you! In 7 easy steps, here are the classroom calendar printing tips you don’t want to miss!
Disclaimer: This post contains affiliate links, meaning, at no additional cost to you, I will earn a small commission if you click through and make a purchase.
There are a couple options when it comes to printing your classroom calendar. Use a printing service (like Staples or Office Depot). Or do it yourself! I’m going to cover each of these options in this post. If you go the DIY route, you’ll want to follow the step-by-step instructions below. And trust me, it’s well worth the end result.
Printing Your Calendar at a Printing Shop
If you choose to use a printing service, make sure you call ahead first to ask whether they’ll be able to print the file on blueprint paper. I’ve used both Staples and Office Depot in the past, but each individual store has their own printing policy. Some will not print the calendar on blueprint, which is the most cost-effective option. On the shop’s website, select the “blueprint” option. Then choose the 24″ x 36″ size. And make sure it’s the option that’s in color.
Another option is to email yourself the file, or take it into the shop on a flash drive. And just tell them that you want it printed on engineer paper. Printing the calendar on poster paper is very expensive! So you want either “blueprint” or “engineer paper.” Most stores will have it ready for you the same day if you send in your order before 2 p.m. If not, they typically have it ready within 24 hours.
DIY Classroom Calendar Printing Tips
Skip the print shop and print your own calendar in just a few easy steps!
Step 1
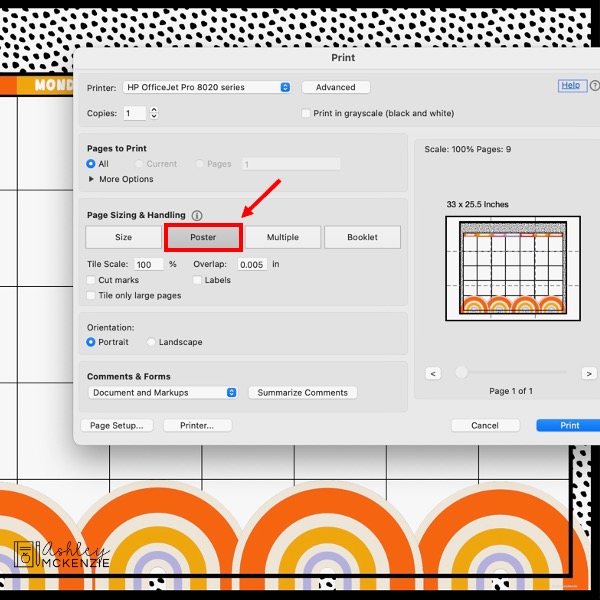
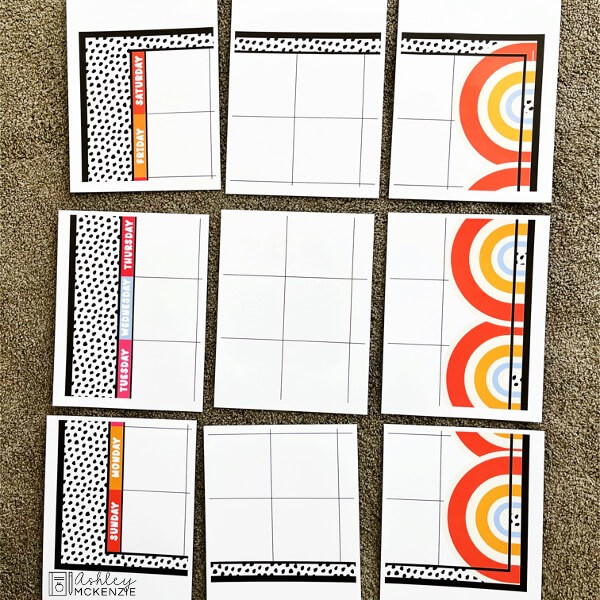
First, open the pdf file in Adobe Reader. You can download the latest version of Adobe Reader for free if you don’t have it on your computer already. During printing, select the “Poster” option in the settings. Then print on cardstock. I like to use this cardstock you can find on Amazon. It will print out across 9 standard size sheets. NOTE: Print it as “actual size” – there’s no need to change the scale.
Step 2
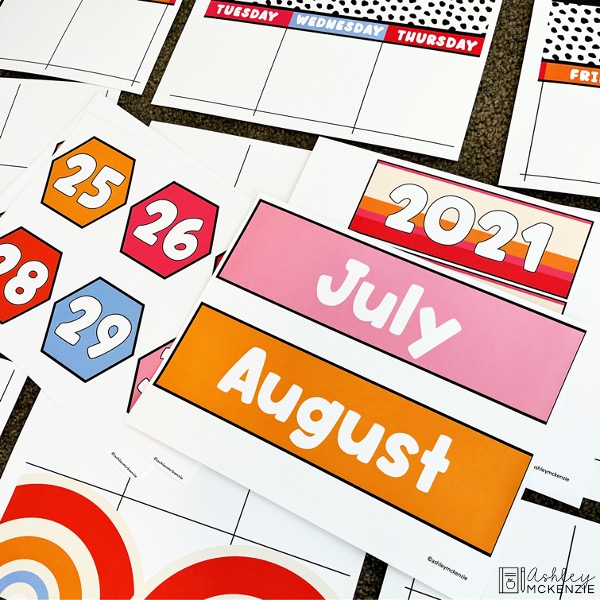
Next, print the rest of the calendar items (i.e. calendar cards, months, years, etc.) on cardstock as well.
Step 3
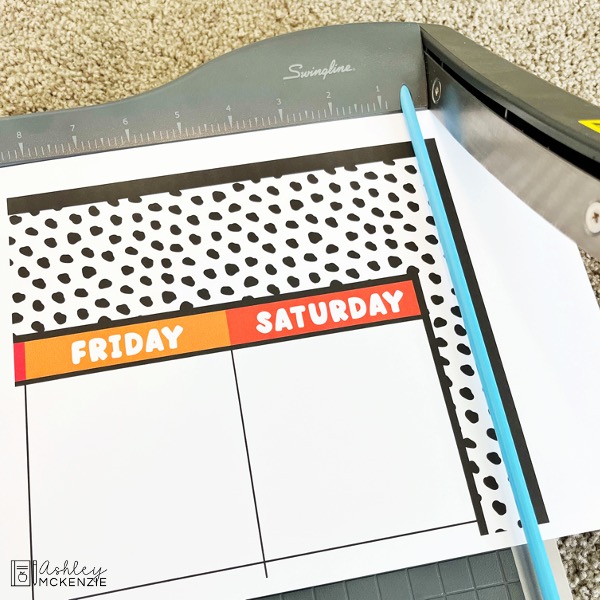
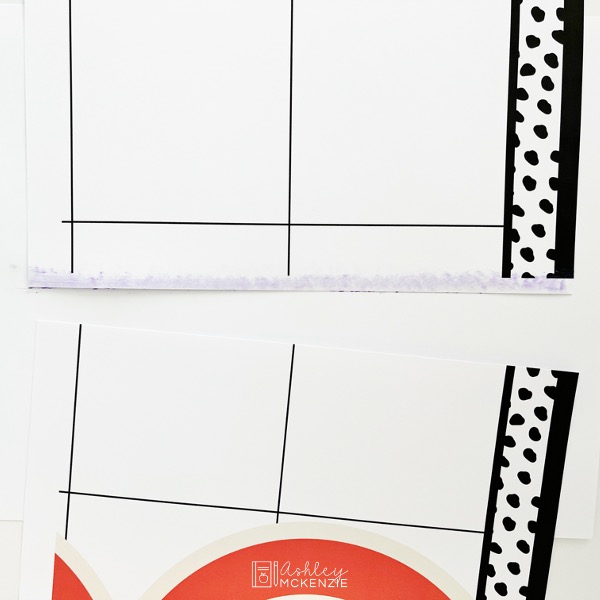
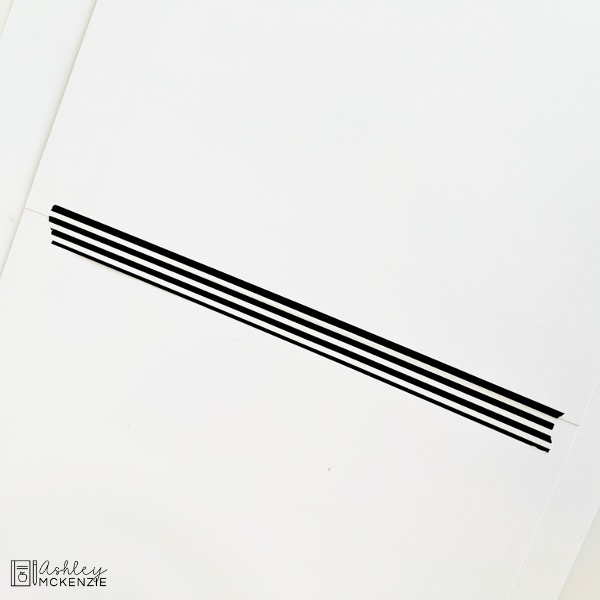
Use a paper cutter or scissors to cut out each item. While cutting the edges, be sure to leave one side of the overlap on the page. This way you can use glue on the overlap piece to attach the adjoining sheet on top. (See the picture below as an example.)
PRO TIP: If using a paper cutter, line up the outside edges first to ensure straighter lines.
Step 4
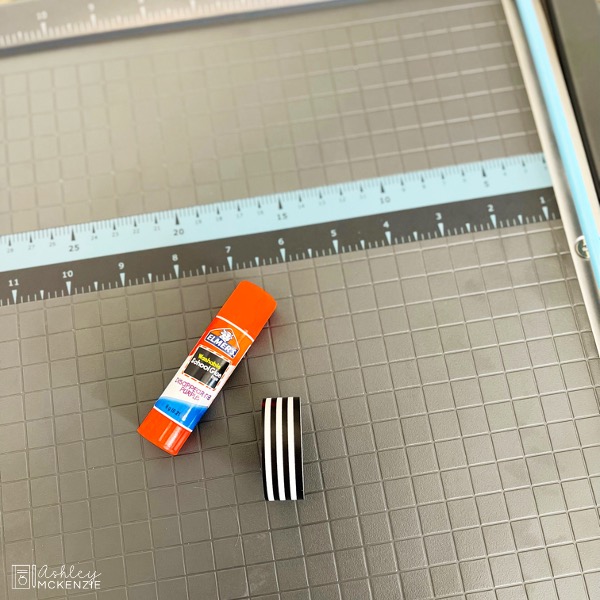
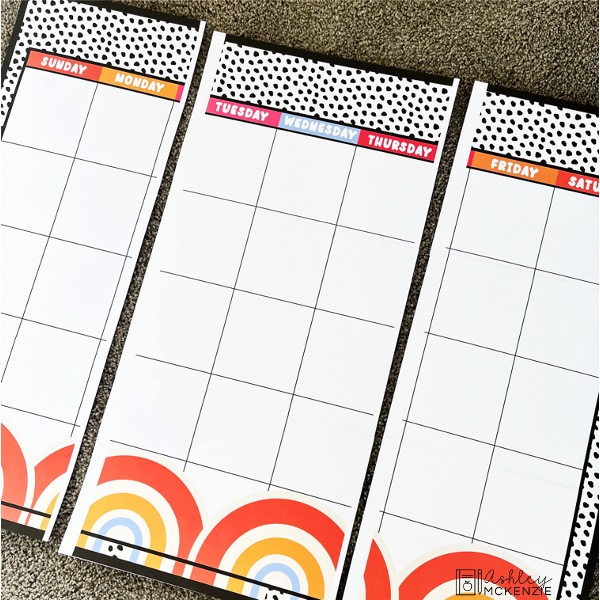
Use washi tape (it won’t ruin the paper, I promise!) and a disappearing purple glue stick to attach the pieces together. Do this step in 3 vertical sections first so that you don’t get confused on which sides to cut!
Step 5
After you glue the front, let it dry for a few seconds. Then tape the back with washi tape to make sure it stays together. This washi tape you can find on Amazon works great. When the 3 sections are done, decide which side to cut off and then attach them together the same way you attached the vertical pieces. It’s not a big deal if the lines are slightly off. You’ll only notice if you’re looking super closely!
Step 6
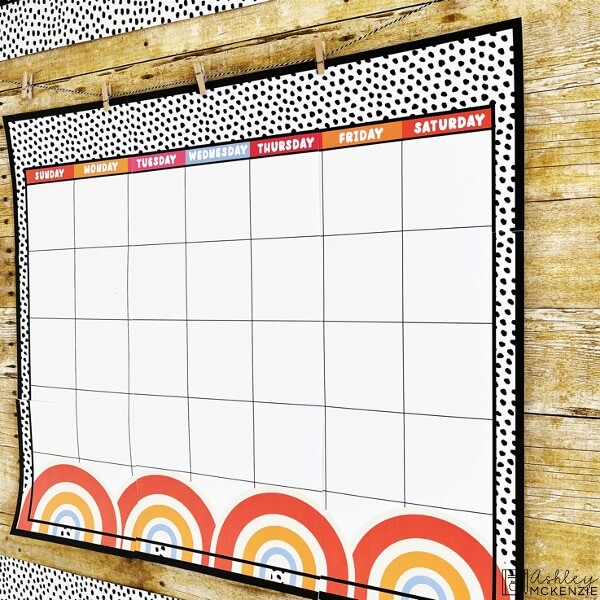
Laminate the calendar. This preserves it and ensures it will stay together for the long haul. Most printing shops have large scale laminating capabilities. Or if your school has a large laminator, that works too! Then hang it right where you want it displayed in your room!
Step 7
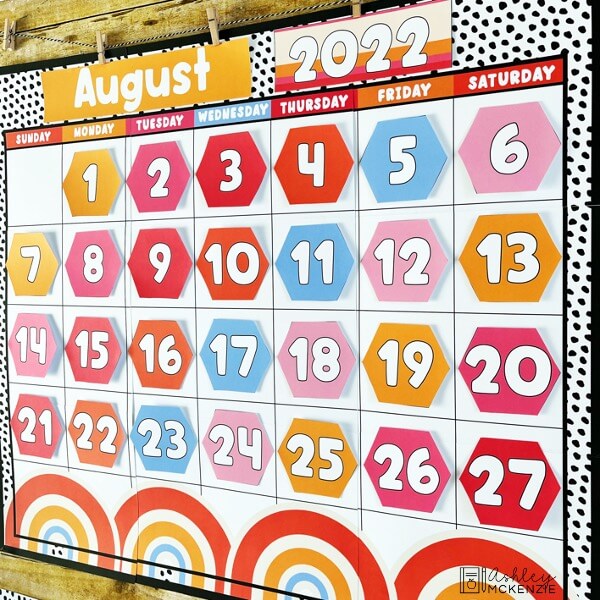
Finally, attach the calendar months, years, and numbers with Velcro dots. And voila! You have a beautiful, oversize calendar that will last you years and years to come!
Classroom Decor Printing Tips
For more DIY printing tips, be sure to check out these 5 tips on printing classroom decor. Learn my paper, printer, and even laminating recommendations. Including an awesome hack to make your printouts last without laminating them!
DIY Classroom Calendar Printing Tips
You’ll have a show-stopping display in no time with these classroom calendar printing tips! And be sure to check out my Retro Vibes Classroom Decor, which is the model in these photos. This decor bundle is set up perfectly for you to be able to print your own calendar in this theme! I can’t wait to see the amazing classroom spaces you create with these resources! Please share your photos with me on Instagram @ashleymckenzietpt. Happy printing!





Just a question for step 6- how do you laminate something that’s 9 a4 sheets of paper big? Is it just clear contact paper or is there an easier way? Thanks in advance
Hey! You can take it to any printing shop, or if your school has a large laminator that would work too!