5 Tips on Printing Classroom Decor
Share this Post
Now that you’ve chosen your new, favorite classroom decor theme (yay!), it’s time to print your pieces so that you can make your classroom spectacular! I want to share 5 tips on printing classroom decor with you to make this process as smooth and hassle-free as possible. Let’s jump right in!
Disclosure: This page contains affiliate links, meaning, at no additional cost to you, I will earn a small commission if you click through and make a purchase.
Tip #1: Paper
First, choose your paper wisely. When it comes to classroom decor, always use cardstock. You’ll thank me later! Cardstock lasts much longer than regular paper, and it’s way easier to laminate (if you choose to – more on laminating in Tip #2). I recommend using 110 lb. weight cardstock, like this excellent option you can grab off Amazon! Or this premium 110 lb. card stock from Walmart; it’s my favorite!
Tip #2: Laminating
To laminate or not to laminate… that is the question. And it’s totally your choice! If you want your printed items to last and look good for more than a couple of months, then definitely laminate. Here’s an excellent, reasonably priced laminator you can grab off Amazon and use for years to come. And remember to grab your laminating sheets!
If you hate the glare/glossy look that comes with laminating, there’s another option for you! You can spray your printed items with clear matte spray paint (like this one), and it magically disappears! Trust me. This works to keep your items in great shape without having to go the laminating route.
Tip #3: Printing
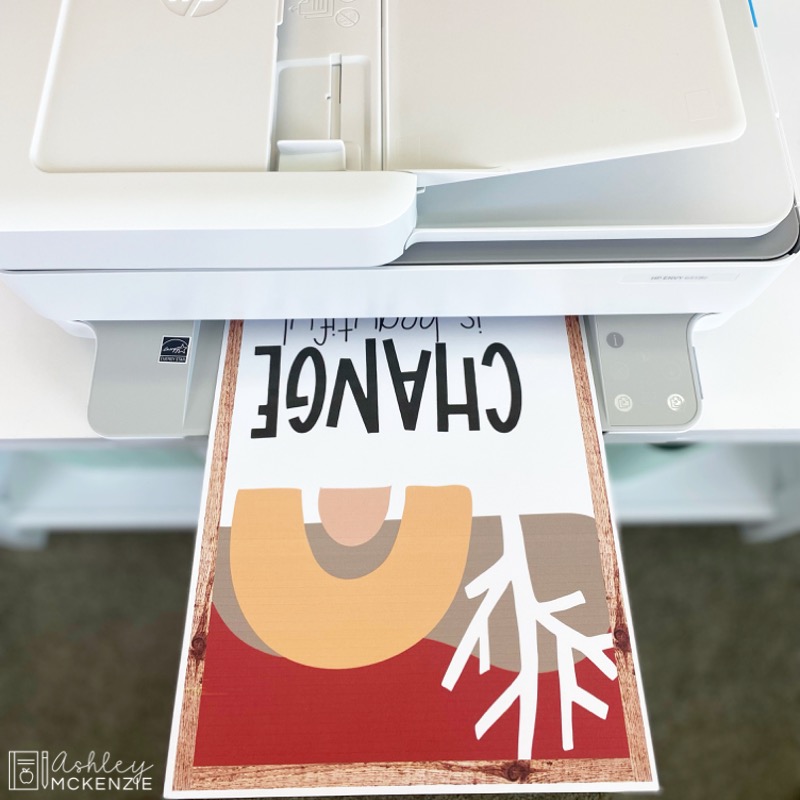
Let’s talk printing. People often ask me, “where’s the best place to print?” I prefer printing at home, if you have the option. Everything in my classroom decor packs prints on regular sized paper, with the exception of the calendar backgrounds (we’ll get to those in Tip #4). It’s all about flexibility and cost. When you print at home, you have more choice when it comes to the size/scale during printing, and which specific pages you want printed.
I have this HP OfficeJet Pro Printer and it does fantastic with quality and quantity of color prints. (If that one’s out of stock, this HP printer or this one are great alternatives!) And the “Instant Ink” is amazing! They send it to you before you need it so you never run out. When printing important stuff like classroom decor, make sure you’ve got high levels of ink. You look at it all year, so you don’t want to regret not changing that cartridge!
It might seem like quite an investment initially, but having your own printer can save you so much money over the course of a year! However, if you choose to go the print-shop route, which many people do, great places to send decor bundles for printing are Office Depot and Staples. If they ask for proof of permission to print, TpT has a link under the purchases in your TpT account for printing authorization. Or you can show them the disclaimer on the TOU (Terms of Use) page I include with each bundle. Just show them that, and you’re good to go!
Tip #4: Calendar Backgrounds
Now for the fun one: printing calendar backgrounds! Until recently, this was the one item you couldn’t really print yourself. But I’ve started creating oversized calendars specifically designed to be printed from home! Check out these 7 easy steps for printing your classroom calendar yourself!
However, you might still opt to go the printing shop route. If so, here are my tips. I printed my calendars at Staples for years, and it cost me just over $5 each. I recommend printing these through either Staples or Office Depot. Each individual store has their own printing policy, and some will not print the calendar on blueprint, which is the most cost-effective option.
When ordering through their website, click on the “blueprint” option and choose the 24” x 36” size. Make sure to select the option that’s in color. Another option is to place your order in person. You can email the file to yourself or take it into the print shop on a flash drive. Tell them that you want it printed on engineer paper. Printing it on poster paper is VERY expensive! So if they won’t do a blueprint or engineer print at your store, try another local print shop if possible. Or, print from home with my calendar printing tips!

Tip #5: Scale
Last but not least, SCALE! The scale at which you print makes all the difference. If you’re able to print at home, learn how to scale your images up or down to fit the space you’re decorating. This is particularly important with letters for bulletin boards or banners. Too small and it will look funny; too big and it might not fit!
Here’s a blog post with steps on how to adjust the scale when printing pdf documents using Adobe Reader. I recommend updating to the latest version of Adobe Reader before you start printing; this corrects 9 out of 10 printing issues people have. Then experiment with the scale of your images during printing.
In many of my bulletin board decor kits, I include a recommended scale percentage to use when printing certain images (if they’re meant to be enlarged). However, since each person’s classroom space is unique, the settings that work for one person might not work for another. A little experimenting may be necessary to get it just right for your space. But when you do, I promise it will be worth it! Again, check out this blog post I wrote with more specifics on how to shrink or enlarge classroom decor when printing.
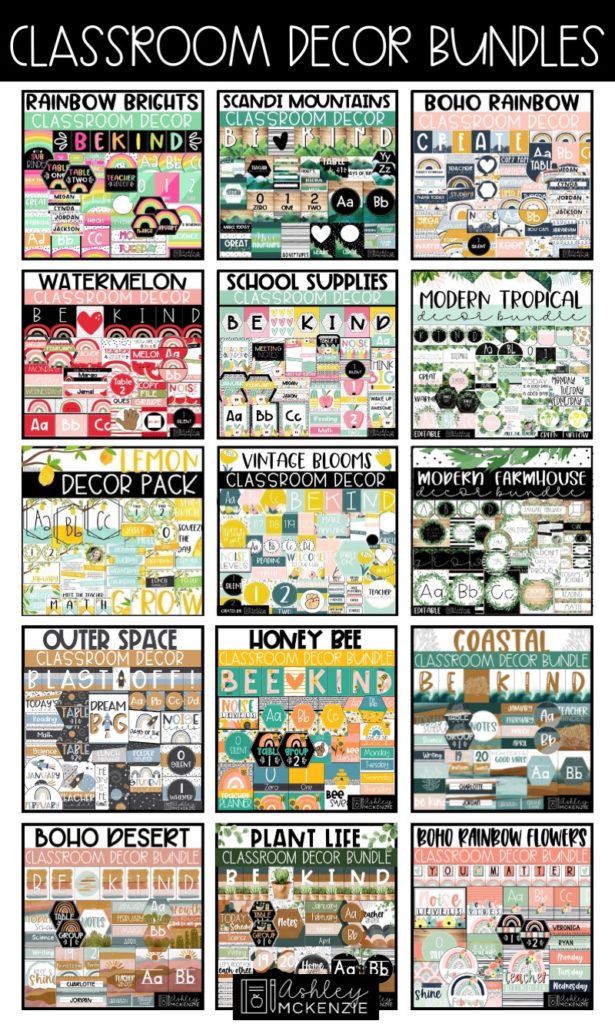
Hopefully these 5 tips on printing classroom decor make setting up your classroom a breeze this year! And if you haven’t quite decided on your decor theme yet, don’t worry! I’ve got you covered. Check out the popular and unique classroom decor bundles on my website or in my TpT shop. You’ll find bestsellers, like the inspirational Scandi Mountains Decor Bundle, and new releases, like the sporty Varsity Vibes Decor Bundle.
Remember to share your photos with me on Instagram @ashleymckenziedecor. I love seeing my creations come to life in your classrooms!



Do you ever do bundles that are geared more toward high school?
Hello there! I am currently working on subject themed decor but you can also use any of my decor bundles in high school and use the editable portions to customize them to fit your needs! 🙂